Manifests
The Manifest editor allows for small changes to future deliveries. This may be useful when assigning editing privileges- allowing clerical staff access to the manifest rather than the entire Routing Manager.
To edit a delivery manifest, select the "Delivery" menu, and click on "Manifest".
Select the delivery date and hub, and click "Show". This will result in a list of deliveries, with fields that can be altered to update delivery information. The user can then select filters for the preferred region and doors to narrow the list.
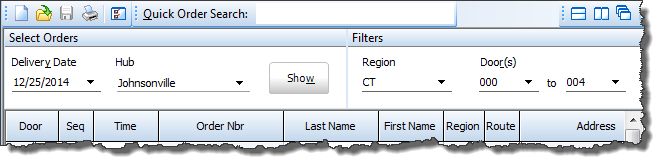
To edit fields, click in the box containing the information to be edited, and either type the new information in the customer account window that opens, or select from the presented drop-down menu.
Selecting "Options" at the bottom of the page will allow the user to further narrow the search results, giving the search options as Searching>Search Options, found in this help file.
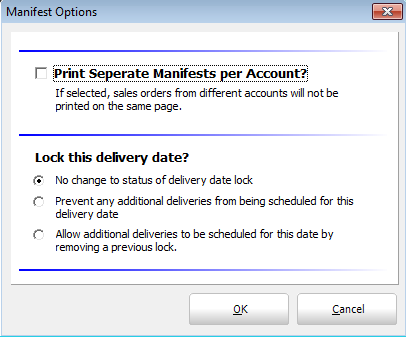
To print the manifest, select "Print". A menu will appear, giving the user the option to print separate manifests for each account. It also allows the user to "lock" the delivery date being printed, so that no more deliveries can be scheduled that day; to allow additional deliveries to be scheduled, or to make no change to the lock status of the date.
The manifest will print, with the list of that date's deliveries (narrowed to the specified filters) and the truck name printed at the top of each page. The page will give all necessary delivery information, such as customer information, delivery status, and any notes.