Dispatch and Check-In
The Dispatch and Check-in function allows the users to view not only delivery information for a single date of delivery but also to view multiple delivery dates at one time.
To view delivery information for one specific date the user will use the “Dispatch” section. To view delivery information over a date range, users will select the “Check-in” option. The functionality is similar when it comes to the auditing of work.
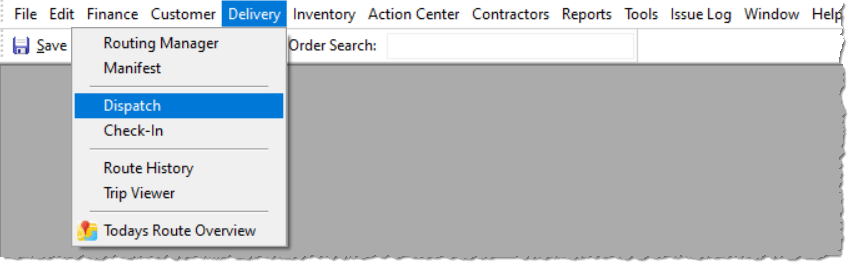
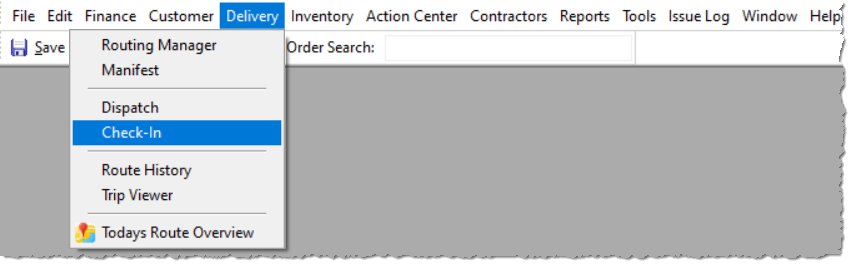
To open the Dispatch section, select the "Delivery" tab from menu and then select "Dispatch". A new window will open as shown below. The user will then be able to select the date, hub and clients they wish to search.
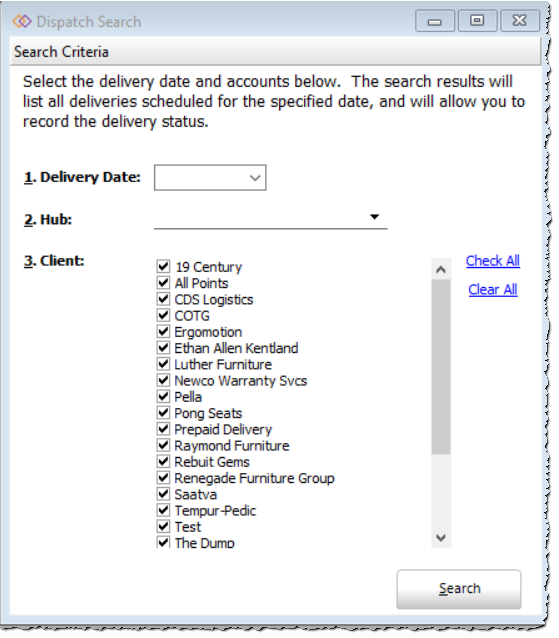
Once a date, hub and client has been selected a new window will open showing all deliveries for the date selected as shown below.
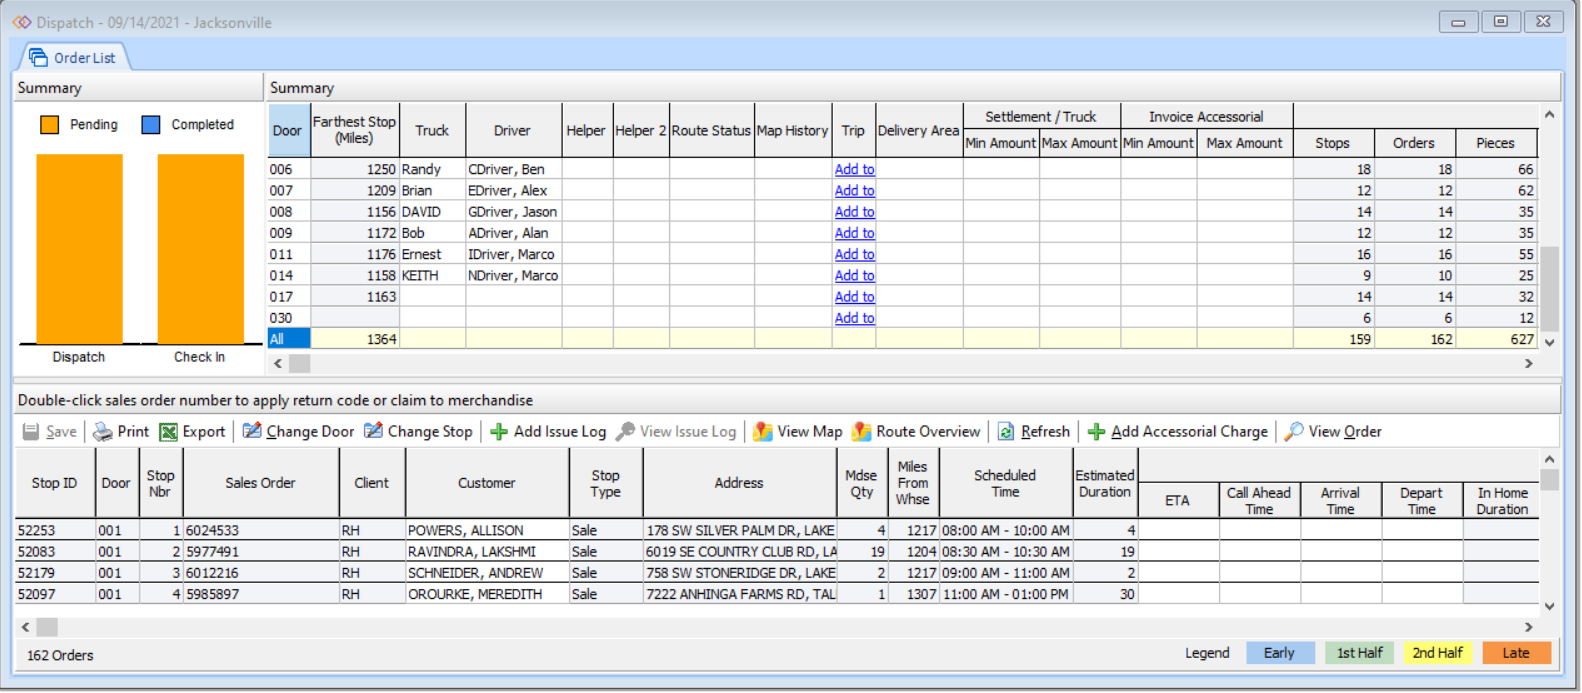
From the page above users can view all information for the date selected such as doors, drivers, timeframes and all information pertaining to the orders out for delivery.
The user can record dispatch information needed such as departure and arrival times, call ahead and arrival times, driver notes, and return codes.
Below is a detailed example of each category within the Dispatch status
- Scheduled Time – Time delivery is set to be delivered
- ETA – Predicted estimated time of arrival via GPS that driver will arrive
- Call Ahead Time – Time driver called customer/client to advise delivery is enroute
- Arrival/Depart Time – Time driver arrived/time driver departed customer/client location
- In Home Duration – How long delivery took place within customer/client location; this is automatically calculated
- Driver Notes – Notes from driver pertaining to delivery
- Signer – Signature of customer or client
- Status – Status of delivery
- Completed - cannot be changed after saving
- Cancelled - cannot be changed after saving
- Non-delivery - can always be rescheduled for the same or different day
- Return Code – Reporting issues with the delivery when delivery is not completed. Return codes need to be appropriate pretending to the delivery as some codes are not invoiced.
- Notes – User is able to type specific notes pertaining to a certain order or delivery
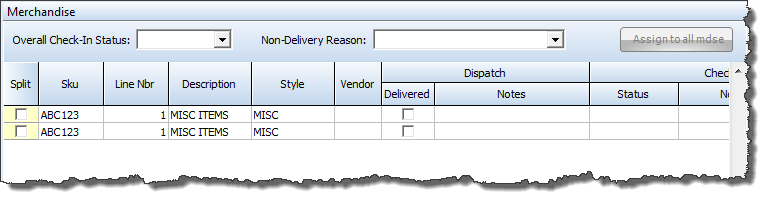
If a user is trying to edit a certain order, they would do this through the check in details window. The user will double click the order and a new window will open as shown below. Then the user is able to do pullbacks for each item pertaining to the stop, whether the delivery was cancelled, completed, or if a non-delivery reason is needed. If non-delivery, the user can select the reason from a drop-down menu under "Check In Status" and “Non Delivery Reason”.
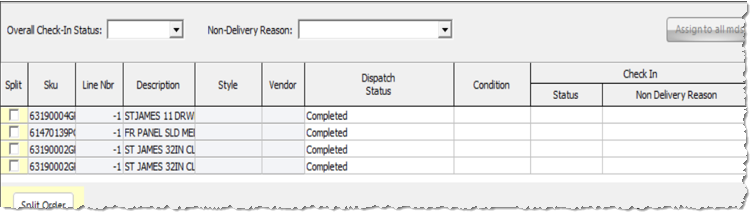
**Note: In order to make any changes to a specific order when in an “out for delivery” status, the order will first need to be removed from delivery by marking it as “non-delivery” and with a “Non-Delivery Reason” that includes a return code as indicated above**
Users are also able to open individual orders from the check in status screen. This gives the users access to the order and all information within that specific order.
When opening a specific order, click on the order itself and click “View Order.” Order will then open showing all information. Example below
(PICTURE)
To view delivery information for multiple dates the user will select the “Check-In” section. This section is often used to see an overview of more than one specific date. Often used for pulling reports as well.
To open Check-In, select the "Delivery" tab from menu and then select "Check-In". A new window will open as shown below. The user will then be able to select the dates, hub and clients they wish to search.
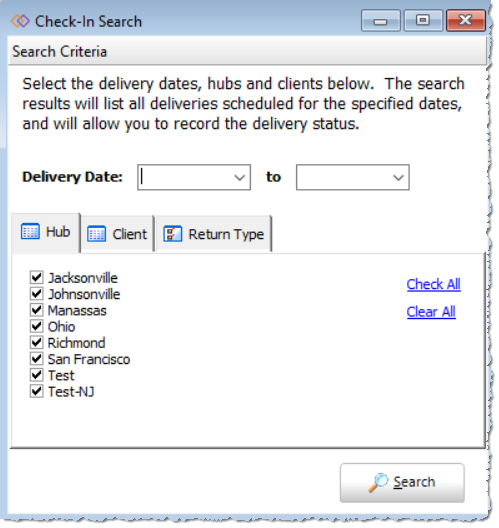
Select the appropriate delivery date, hub, and accounts to be reported. This search will return a summary of all orders for the date/hub/accounts selected. The summary will include each door of the hub and it's route details, including the truck, miles to furthest stop, number of stops, and number of orders.
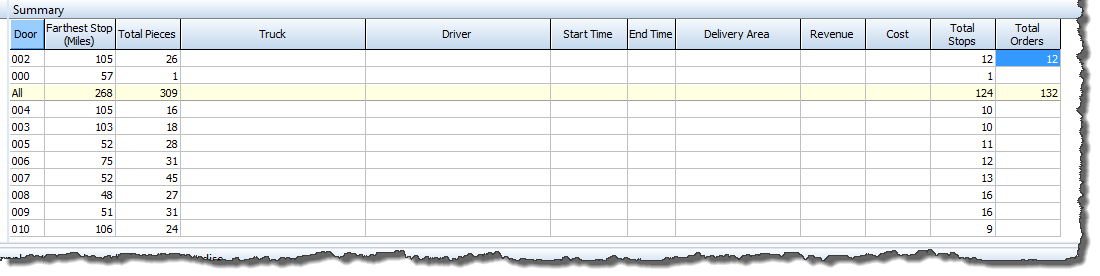
At the bottom of the page is a list of each stop and relevant information. It allows the user to change the stop door, add notes, and add accessorial charges.
The user can also record dispatch and check in information here, such as departure and arrival time, driver notes, and return codes.
The dispatch status, when clicked in the "Status" field for a specific stop, opens a drop-down menu, and the user can select a specific dispatch condition.

The check in status box for a specific stop will open a new window. The user can select, for each item delivered at that stop, whether the delivery was canceled, completed, or non-delivery. If non-delivery, the user can select the reason from a drop-down menu. The reason, when saved, will appear under "Check In" and "Return Code" on the summary page.
Through Check-In the user can also Export the information and this will open up in an excel document.